Create Your First Vanly Listing
Turn your available parking space into a complete Vanly listing, from the basic setup and location to photos, pricing, and submission.
Anna @ Vanly ·
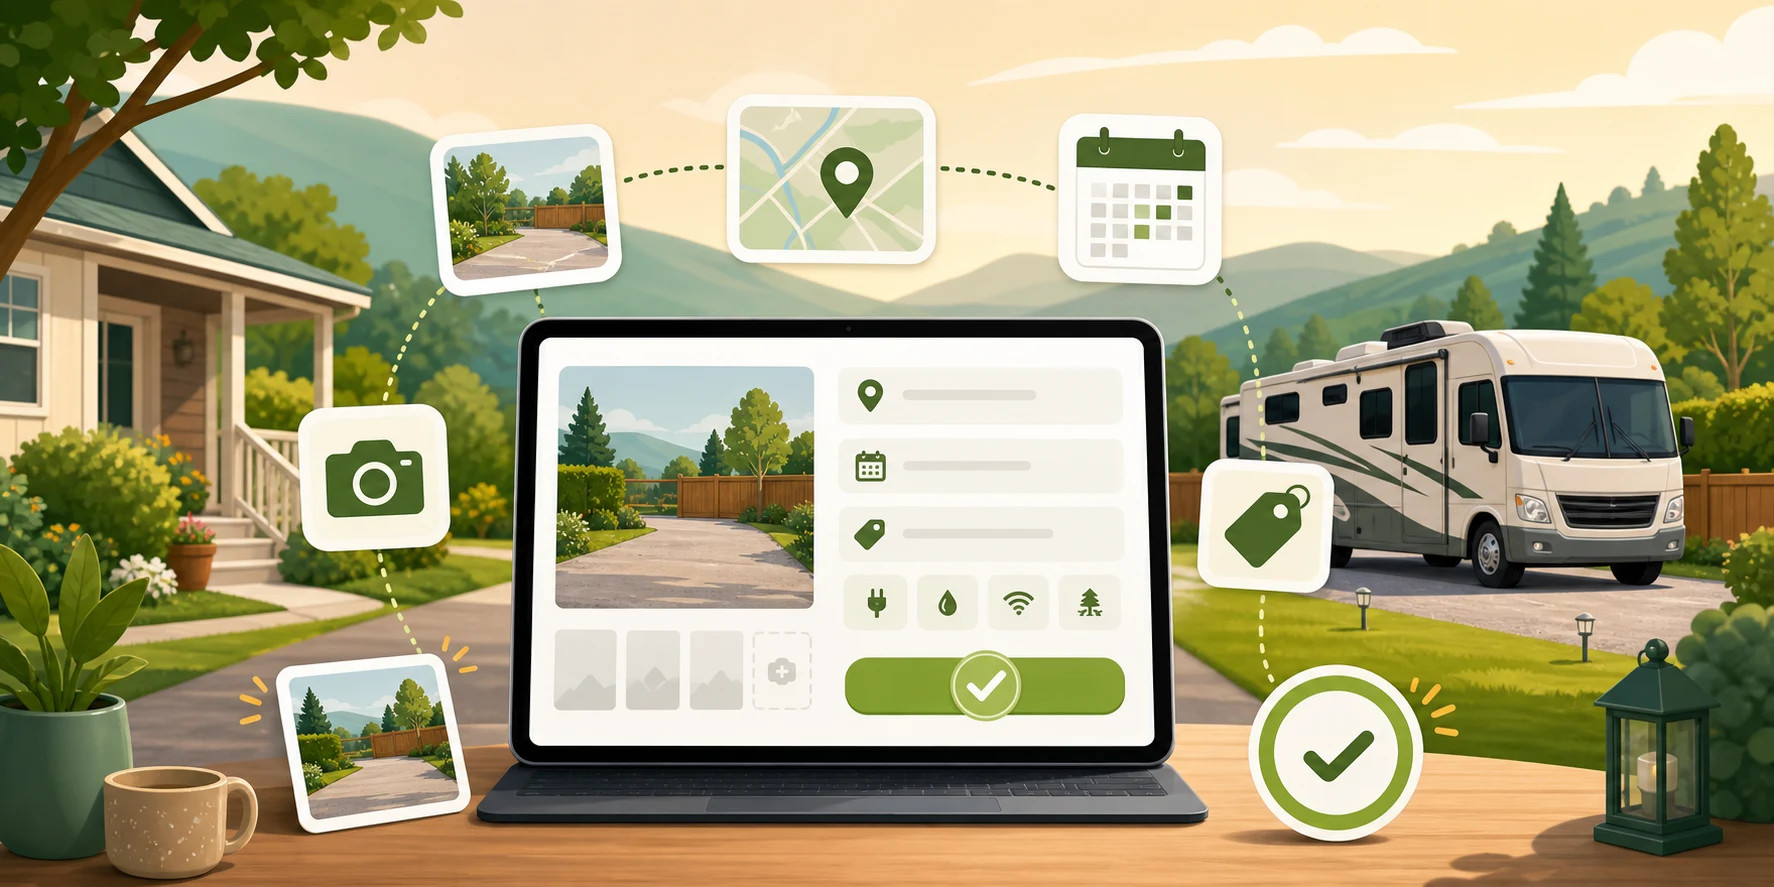
Creating a Vanly listing helps travelers understand whether your space is right for their vehicle and stay. This guide follows the listing creator from the first draft through review and submission. Your progress is saved as a draft while you work, so you can leave and return before submitting.
Before you begin
A signed-in Vanly account
The complete address of the parking space
Clear, current photos of the parking area and its access
An idea of when the space is available and what you want to charge
Access to a phone number you can verify before submission
Step 1: Start a new listing draft
Open the Host listing page and choose Start new listing. Vanly creates a draft and opens the listing creator.
Your changes save automatically while you work. If you leave before submitting, return to the Host listing page and continue the saved draft instead of starting another one.
Tip: Use one draft for each parking space. This keeps its photos, address, pricing, and availability together.
Step 2: Describe the parking spot
In Parking spot, choose how guests can book and describe the physical space.
Select Overnight, Hourly, or Both.
Choose the type of place, such as a driveway or another available option.
Select the largest vehicle size the space can safely fit.
Describe how level the parking surface is.
Choose accurate options based on the usable parking area and access—not the total size of the property.
Tip: Measure narrow entrances, gates, overhead clearance, and turning space before choosing the largest supported vehicle.
Important: Do not claim that a vehicle size fits unless it can enter, park, and leave safely.
Step 3: Enter and confirm the location
Enter the complete street address, city, two-letter state, ZIP code, and country. After Vanly finds the address, review the map and place the pin on the actual parking spot.
The listing uses this confirmed location to support search and location-based details. Your exact address is shared with the guest only after a booking is confirmed.
Tip: Move the pin to the parking area—not the center of the house or property—so location-based information is more accurate.
Important: Review the address carefully. An incorrect address or map pin can create arrival and safety problems.
Step 4: Set when guests can book
Use Availability to define when the space can be used. The available controls depend on whether you selected overnight, hourly, or both.
For overnight stays, set enabled days and check-in and check-out times. For hourly parking, set the operating days and hours. Also review booking notice, how far ahead guests may book, and applicable stay-length limits.
If both booking types are enabled, make sure the schedules do not create conflicting use of the parking space.
Tip: Use times you can consistently support, including enough time between guests when the space needs to be checked or prepared.
Important: For overnight availability, check-out must be earlier than check-in on every enabled day.
Step 5: Add clear photos and a useful description
Upload current photos that help guests evaluate the space before booking. Include the parking area, entrance, approach, surface, and any access details that may affect a larger vehicle. Arrange the strongest overview photo first because it becomes the listing cover.
Then write a clear title and description. Explain what the guest can expect, how to recognize the space, important access considerations, and anything visible in the photos that needs clarification.
Use bright, landscape-oriented photos when possible.
Remove license plates, faces, documents, and other private information.
Keep the description accurate and easy to scan.
Tip: A useful photo sequence moves from the entrance to the approach and then the final parking position.
Important: Do not upload misleading, outdated, or unrelated photos. Guests should be able to recognize the actual space when they arrive.
Step 6: Set the standard rates
In Pricing, enter the standard rate for every booking type you enabled. Overnight listings need a nightly price, and hourly listings need an hourly rate and applicable duration limits.
Review the price summary before continuing. If dynamic or custom pricing controls are available, use them only when you are ready to manage different weekday or calendar-specific rates.
Tip: Start with a rate that reflects the space, location, access, and included features. You can update pricing later from Manage Listing.
Important: Guests rely on the published price. Review every enabled booking type so you do not submit a missing or unintended rate.
Step 7: Add amenities, rules, and other helpful details
Use Optional details to make the listing more useful and set expectations. Add only information that applies to this specific space. Available sections can include:
Amenities and guest conveniences
Experiences or paid extras
Ground rules
Unavailable dates
Booking discounts
Cellular coverage
You may skip optional items and return later, but amenities, rules, and access details can help guests decide whether the listing fits their needs.
Tip: Prioritize details that affect arrival, vehicle access, safety, comfort, and what is included in the booking.
Important: Do not select amenities or experiences that are unavailable, unsafe, or not ready for guests.
Step 8: Review and submit the listing
Open Review & Submit and inspect the guest preview along with every listing section. Correct any incomplete section before submitting.
Confirm the following:
The booking type and supported vehicle size are correct.
The approximate public location and private address are correct.
Availability, check-in or operating times, and rates match your plans.
Photos, title, and description accurately represent the space.
Amenities, rules, discounts, and cellular details are accurate.
When everything is ready, submit the listing. Vanly may ask you to verify your phone number first. The submitted listing stays inactive while Vanly reviews it.
Tip: Read the preview as if you were a guest deciding whether a large vehicle could arrive and park comfortably.
Important: Submitting sends the listing for review; it does not guarantee immediate approval or publication.
You’re ready
Your listing has been submitted to Vanly for review. It remains inactive while the team reviews the information, so submission does not mean it is immediately visible or bookable. Watch for updates and use Manage Listing if Vanly asks for changes.