Manage and Update Your Vanly Listing
Keep your listing accurate and booking-ready by updating its details, photos, pricing, availability, and guest experience.
Anna @ Vanly ·
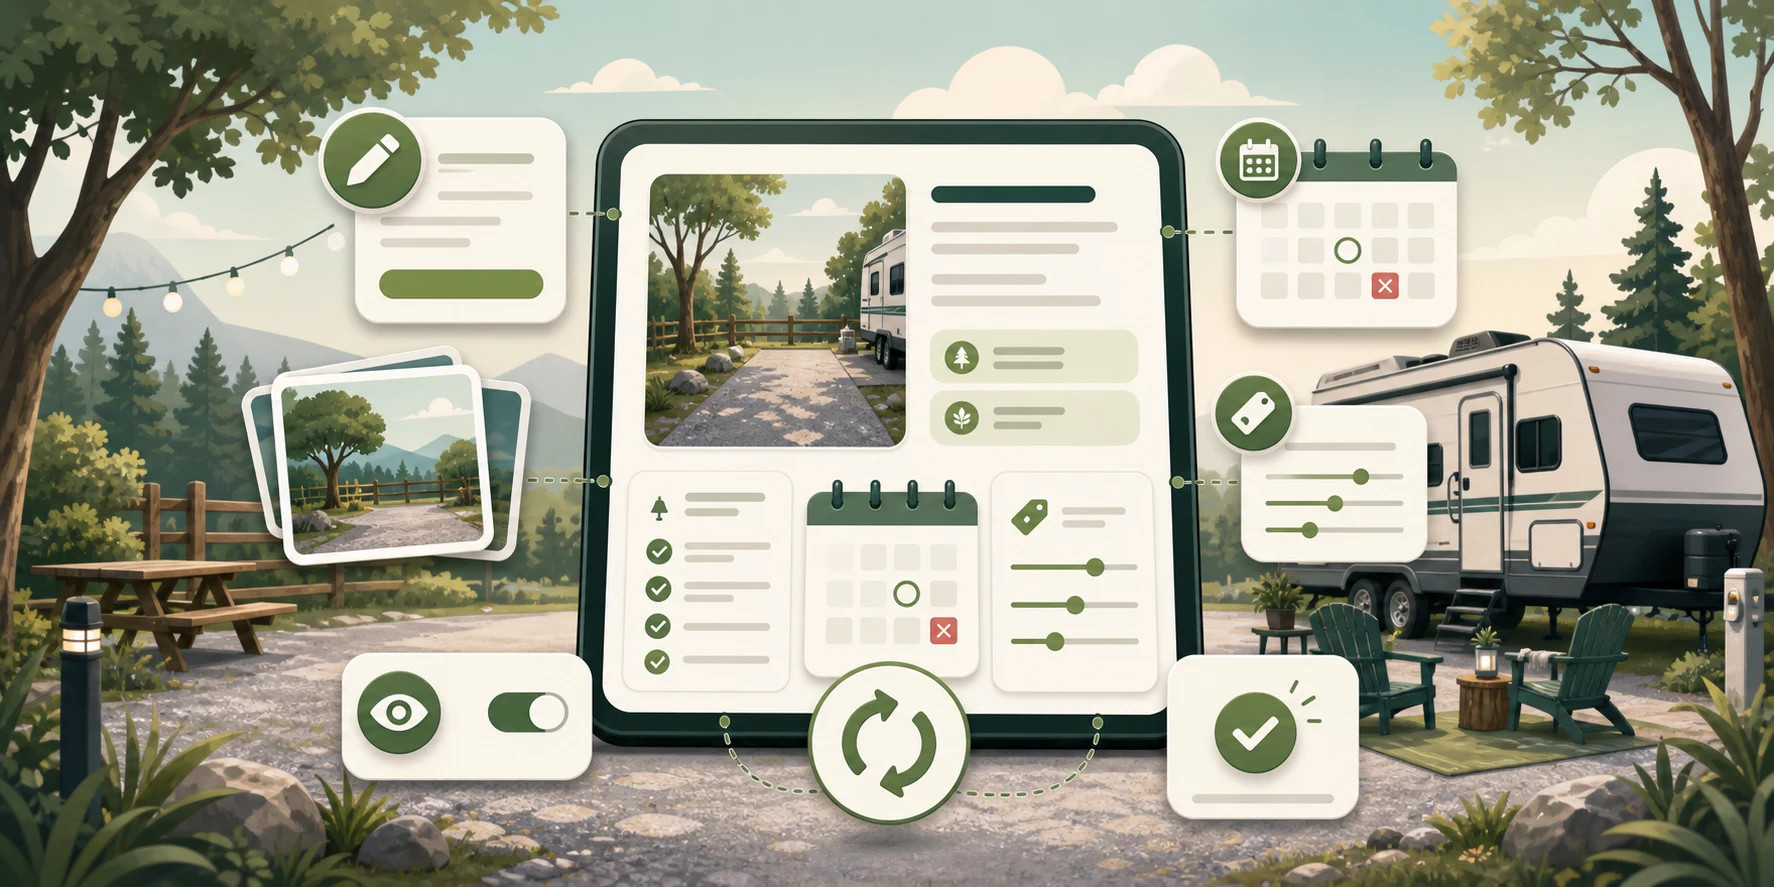
Your listing should change as your space, schedule, and hosting preferences change. The Manage Listing overview brings the most important settings together, shows items that need attention, and links to each editing area. Use this guide to understand where each setting lives and what to review before guests book.
Before you begin
A signed-in Vanly host account
At least one existing Vanly listing
Current information about your space, availability, and pricing
Updated listing photos, if the space has changed
Step 1: Open the listing you want to manage
Go to your Host Dashboard, find the correct listing, and choose the option to manage it. The Manage Listing overview is the starting point for editing the listing and checking its current status.
If you host more than one space, confirm the listing name and location before making changes.
Tip: Use the listing overview whenever you are unsure where a setting lives. Each summary card links to the related editing page.
Step 2: Review the overview and items needing attention
Start at the top of the overview and check the listing status, approval state, payout connection, photo count, and any Needs Attention messages. The page also summarizes pricing, availability, booking activity, ratings, and other important setup information.
Use Manage Status when you need to review whether the listing is visible and bookable. Do not ignore missing setup items, because they may prevent the listing from being ready for guests.
Tip: Review the overview after making several changes. It is a quick way to confirm that the main listing setup still looks complete.
Important: Changing a listing's visibility can affect whether guests can find or book it. Confirm the intended status before saving.
Step 3: Update listing basics and booking options
Open Listing Basics to review the guest-facing information that describes your space. Keep the following details accurate:
Listing title and description
Space type, vehicle size, and ground information
Location and access details
Overnight and hourly booking availability
One-click booking preferences and required notice
Write for a guest who has never seen the property. Clearly explain access, space limitations, and anything they should know before arriving.
Tip: Update the description whenever access, parking conditions, or the space itself changes.
Important: Do not place private access codes, personal phone numbers, or exact arrival instructions in public listing text. Share sensitive arrival details through the appropriate booking communication.
Step 4: Refresh photos and cellular coverage
Open Photos & Coverage to help guests understand what the space looks like and what connectivity they may have.
Replace outdated photos and add clear images of the parking area, entrance, access route, and useful amenities.
Arrange photos so the most helpful image appears first.
Review the cellular coverage information and update it if the automatically detected result does not match real conditions.
Photos should represent the space as guests will actually find it.
Tip: Retake photos after landscaping, construction, seasonal changes, or any change that affects parking or access.
Important: Before uploading, remove visible license plates, faces, addresses, access codes, and other private information.
Step 5: Review overnight and hourly pricing
Open Pricing to review what guests will pay for an overnight stay. If hourly booking is enabled, use Hourly Booking to manage the hourly rate and related settings. Depending on your setup, you may also see day-of-week prices, discounts, or custom prices for specific dates.
Check that each enabled booking type has an intentional price and that special-date pricing is still current.
Tip: Review pricing before holidays, local events, peak travel seasons, and slower periods.
Important: Pricing changes can affect future booking requests. Review the displayed rate and booking type carefully before saving.
Step 6: Keep your schedule and availability accurate
Open Schedule & Availability to manage when guests can book. Review check-in and check-out timing, minimum and maximum stay rules, booking notice, how far in advance guests may book, open dates, blocked dates, and any synced calendars.
Block dates as soon as the space becomes unavailable. If you use another booking calendar, verify that the calendar sync is connected and showing the expected dates.
Tip: Check the availability calendar regularly, especially after accepting a reservation somewhere else or changing your personal schedule.
Important: An outdated calendar can lead to booking conflicts. Confirm blocked and synced dates before leaving the page.
Step 7: Update the guest experience and preview the listing
Review Amenities, Guest Conveniences, and Add-on Experiences so guests know what is included, what is nearby, and what may be available for an additional charge. Select only items that are currently available and describe any important limitations.
When your updates are complete, choose Preview Listing and review the page as a guest would. Check the title, photos, description, booking options, price, amenities, policies, and overall accuracy before you finish.
Tip: Preview on both a phone and a larger screen when possible. Important details should be easy to understand without contacting you first.
Important: Do not advertise an amenity or experience that is unavailable, unsafe, or not ready for guest use.
You’re ready
Your listing is now up to date and easier for guests to understand. Return to Manage Listing whenever your space, schedule, pricing, amenities, or booking preferences change, and preview the public listing before you finish.