Set Your Listing Availability and Booking Rules
Choose when guests can book, set arrival times and stay limits, block dates, and keep calendars synchronized.
Anna @ Vanly ·
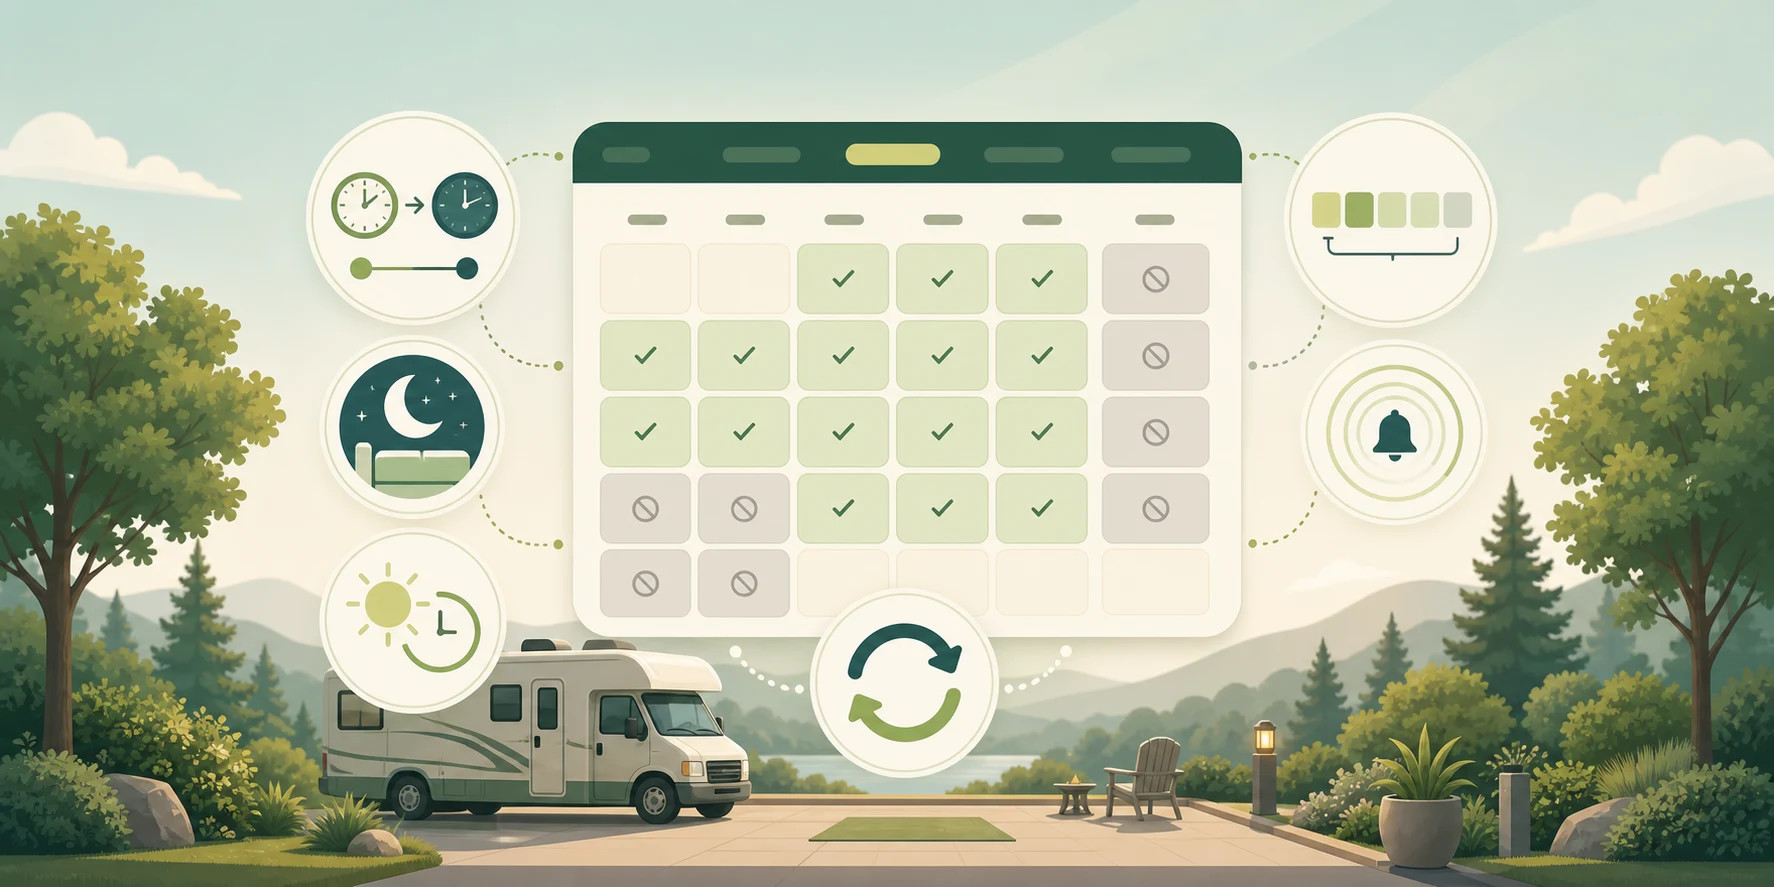
Accurate availability helps guests choose valid dates and protects you from accepting stays when the space is not ready. Vanly lets you control overnight and hourly booking schedules, booking notice, advance-booking limits, stay length, individual blocked dates, and connected calendars. Review these settings whenever your routine or property availability changes.
Before you begin
A signed-in Vanly host account
An existing Vanly listing
The days and times your space can accept guests
Any dates that must be blocked
An external calendar URL ending in .ics, if you want calendar synchronization
Step 1: Confirm which booking types you offer
From your Host Dashboard, open the listing and go to Listing Basics. Confirm whether the space offers overnight parking, hourly parking, or both. These selections determine which schedule and booking-rule settings are available.
Only enable a booking type that your property can reliably support. If hourly parking is enabled, you will also need to configure its hours and booking rules.
Tip: Offering both booking types can make the listing more flexible, but each type should have accurate hours, notice, and pricing.
Important: If both overnight and hourly parking are disabled, Vanly sets the listing to inactive.
Step 2: Open Schedule & Availability
Return to the listing overview and open Schedule & Availability. This area controls check-in and check-out times, per-day operating schedules, individual unavailable dates, and connected calendars.
Before editing, compare the current settings with your real hosting schedule and any bookings or personal commitments already on your calendar.
Tip: Use the Manage Listing overview to see a summary of stay rules, booking notice, advance booking, and connected calendars.
Step 3: Set check-in, check-out, and daily hours
Set the standard overnight check-in and check-out times first. A standard-time change updates all days, and you can then adjust or disable individual days when your schedule differs.
Overnight only: Choose when guests may check in and when they must check out.
Hourly only: Set the start and end time for each day and disable days when hourly parking is not offered.
Overnight and hourly: Vanly can offer hourly parking during the remaining window outside the overnight check-in and check-out period. Review the calculated hourly window for every day.
Use realistic times that allow enough space between guests for access, maintenance, or preparation.
Tip: Disable a day instead of entering misleading hours when that booking type is not regularly available.
Important: When both booking types are enabled, changing overnight times can also change the hourly window. Review both schedules before saving.
Step 4: Set notice, advance-booking, and stay limits
Open Overnight Pricing to configure the booking rules for overnight stays. Choose how much notice you need, how far in advance guests may book, and the minimum and maximum number of nights. You can also review whether one-click overnight booking is allowed.
If hourly parking is enabled, open Hourly Booking and review its notice, advance-booking, minimum-hour, maximum-hour, and one-click booking settings separately.
Choose limits that give you enough time to prepare while still offering useful options to guests.
Tip: If you allow same-day booking, set the same-day cutoff time carefully so requests do not arrive after you can prepare the space.
Important: Overnight and hourly rules are managed separately. Updating one does not automatically make the other correct.
Step 5: Block dates when the space cannot be booked
In Schedule & Availability, use the availability calendar to mark dates when the listing cannot accept a booking. Block dates for personal use, maintenance, seasonal closures, construction, or any other period when the space is unavailable.
Review more than the current month so future availability matches your plans. Dates imported from a connected calendar remain unavailable even if they are not manually blocked in Vanly.
Tip: Block a date as soon as you learn the space will be unavailable rather than waiting for a booking request.
Important: Check existing bookings and commitments before reopening a date. An open date may become selectable by guests according to your booking rules.
Step 6: Connect calendars used on other booking websites
Choose Sync Calendar if this space is also listed elsewhere. Vanly provides a calendar URL that you can copy into the other website. Then obtain that website's calendar URL ending in .ics, paste it into Vanly, give the calendar a recognizable name, and choose Add calendar.
A complete connection uses both directions:
Add the Vanly calendar URL to the other website.
Add the other website's .ics calendar URL to Vanly.
After connecting, confirm that expected unavailable dates appear on the Vanly calendar.
Tip: Use a clear calendar name, such as the platform and property name, so you can identify it later.
Important: Calendar synchronization reduces conflicts but should still be checked regularly. Do not assume a connection is working without confirming imported dates.
Step 7: Save and review the guest-facing availability
Save each section after making changes, then return to the listing overview. Confirm that the schedule summary, booking notice, advance-booking limit, stay rules, and synced-calendar count match your intentions.
Finally, preview the public listing and inspect the booking calendar as a guest. Check that unavailable dates cannot be selected and that the enabled booking types show the expected schedule.
Tip: Repeat this review after changing booking types, operating hours, notice requirements, or a connected calendar.
Important: Do not leave the page with unsaved changes. Confirm the save completes before navigating to another listing section.
You’re ready
Your listing now reflects when you can actually host. Revisit availability whenever your schedule changes, block new unavailable dates promptly, and periodically confirm that connected calendars are still synchronized.